 Pin
Pin I discovered crispy chickpeas by accident one afternoon when I was looking for something substantial to snack on but didn't want to commit to full cooking. A friend had mentioned roasting them casually at a dinner party, and the memory stuck with me—that perfect crunch, the way the spices clung to each piece. The first batch I made burned slightly because I got distracted, but those charred edges taught me something valuable about attention and timing in the kitchen.
I made these for a hiking trip with friends, packing them into small containers the night before, and watching everyone fight over the last handful told me I'd stumbled onto something special. There's something satisfying about sharing a snack that you made yourself, something that tastes like you put thought into it.
What's for Dinner Tonight? 🤔
Stop stressing. Get 10 fast recipes that actually work on busy nights.
Free. No spam. Just easy meals.
Ingredients
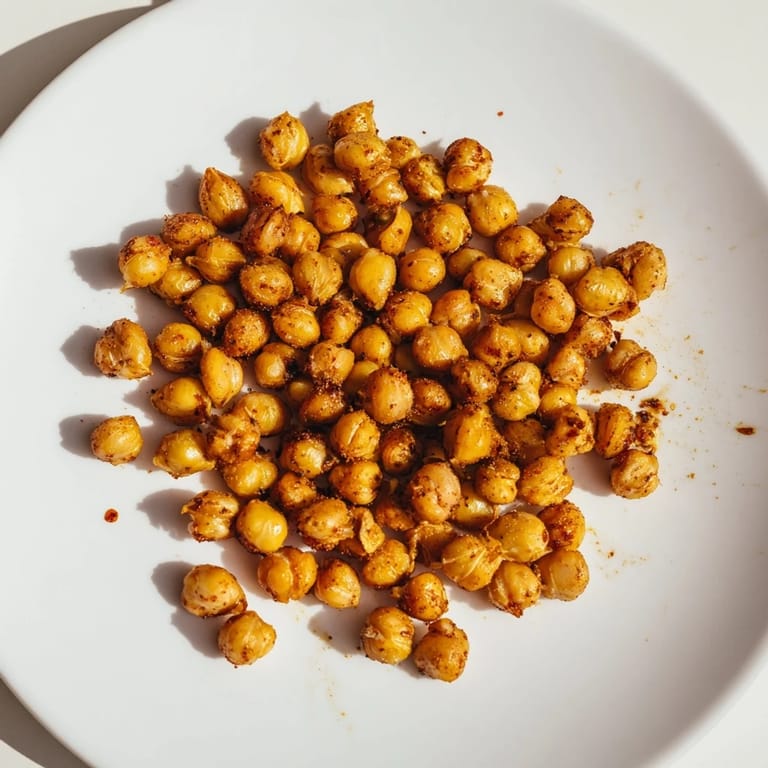
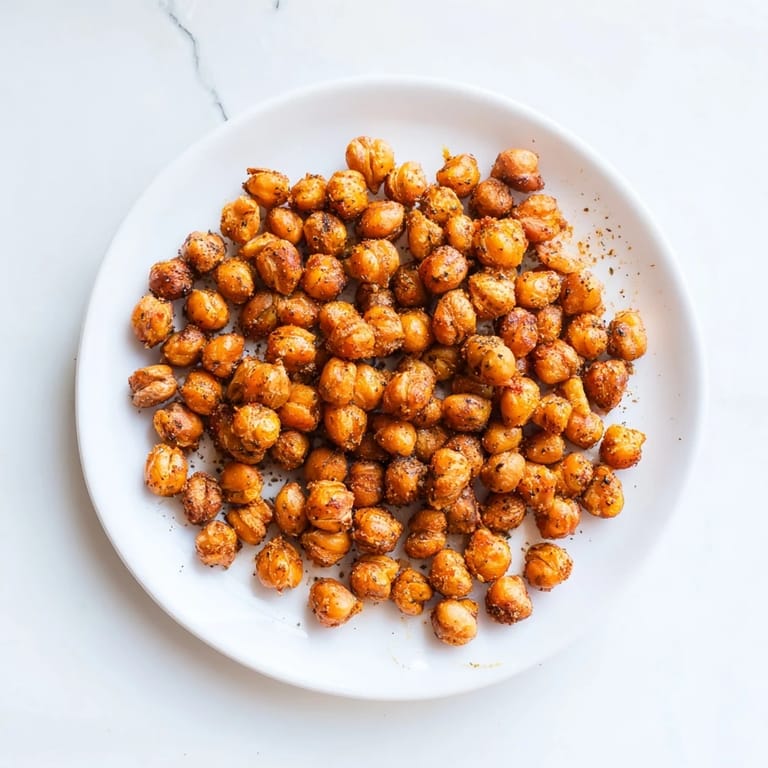
- Chickpeas: One 400g can, drained and rinsed thoroughly—this step matters more than you'd think because dry chickpeas roast faster and crisper than wet ones.
- Olive oil: Two tablespoons to coat everything evenly and help the seasonings stick.
- Sea salt: Half a teaspoon for baseline flavor that brings all the spices into focus.
- Smoked paprika: Half a teaspoon for that warm, subtle smokiness that makes people ask what the secret ingredient is.
- Ground cumin: Half a teaspoon to add earthiness and depth without overwhelming.
- Garlic powder: A quarter teaspoon for savory punch without any raw garlic bitterness.
- Black pepper: A quarter teaspoon for gentle heat that builds as you eat more.
- Cayenne pepper: Optional quarter teaspoon if you like things with real kick and warmth.
- Nutritional yeast: Optional tablespoon if you want a subtle cheesy undertone that pairs beautifully with the other seasonings.
Instructions
- Set up and prep:
- Preheat your oven to 200°C and line a baking sheet with parchment paper while you gather everything. This takes two minutes and prevents scrambling later.
- Dry your chickpeas:
- Pat them thoroughly with a clean kitchen towel, getting as much moisture off as possible—this is the hidden step that separates the soggy from the genuinely crispy. Don't skip this even though it feels tedious.
- Season and toss:
- Combine the chickpeas with olive oil, salt, paprika, cumin, garlic powder, pepper, and any optional seasonings in a large bowl, making sure every piece gets coated. The oil should glisten, and the spices should smell aromatic and ready.
- Spread and roast:
- Lay them in a single layer on your prepared baking sheet and slide it into the oven for 35 minutes. Set a timer to shake the pan or stir every 10 minutes—this ensures even crisping and prevents any from hiding in the corner and burning.
- Cool and crisp:
- Pull them out when they're golden and crunchy, and let them cool on the pan for at least five minutes. They'll actually continue crisping as they cool, so resist the urge to eat them immediately even though the smell is intoxicating.
 Pin
Pin 
One quiet morning I was making a batch just for myself, no special occasion, and I realized these little roasted chickpeas had become something I made without even thinking about it—like they'd quietly earned their place in my regular rotation. That's when food becomes truly loved, I think, when it stops being a special recipe and just becomes part of how you feed yourself.
Flavor Combinations to Try
Once you master the base recipe, you can venture into different territories entirely and keep things exciting. I've made batches with curry powder and coconut flakes that tasted like I'd been somewhere warm, and others with Italian herbs and lemon zest that felt like a Mediterranean afternoon. The base technique stays exactly the same—only the seasoning blend changes—which makes experimenting genuinely fun and low-stakes.
Storage and Keeping Them Fresh
The best storage trick I learned is to let them cool completely before putting them away, because any residual warmth traps steam inside the container and turns them soft by morning. An airtight container is essential—I use glass jars—and they'll stay crunchy at room temperature for about three days, though I've yet to have any last that long because they disappear first.
Ways to Use Your Crispy Chickpeas
These aren't just for eating by the handful, though that's absolutely valid. I've crushed them over salads for texture, mixed them into grain bowls for protein, and even added them to roasted vegetable platters. Once you have a batch made, you'll find yourself reaching for them in unexpected places.
- Sprinkle over salads right before serving to keep them crunchy.
- Mix into yogurt with herbs for an unexpected snack with substance.
- Toss into roasted vegetable dishes at the last second for textural contrast.
 Pin
Pin These crispy chickpeas have become one of those recipes I make regularly without fanfare, a quiet favorite that nourishes both appetite and the satisfaction of having made something simple incredibly well. There's quiet confidence in a kitchen routine that works.
Recipe Questions & Answers
- → How can I make chickpeas extra crispy?
Drying chickpeas thoroughly before roasting and stirring them every 10 minutes helps achieve maximum crispiness and even browning.
- → What spices enhance the flavor of roasted chickpeas?
Smoked paprika, cumin, garlic powder, and black pepper create a smoky, savory profile; optional cayenne adds heat, while nutritional yeast offers a cheesy note.
- → Can I prepare this snack ahead of time?
Yes, once completely cooled, store the chickpeas in an airtight container at room temperature for up to 3 days to maintain crunchiness.
- → What is the best way to serve roasted chickpeas?
Enjoy them as a standalone snack, salad topper, or mixed into grain bowls to add texture and protein.
- → Are canned chickpeas suitable for roasting?
Canned chickpeas work well if rinsed and dried thoroughly, but check ingredient labels for additives or potential allergens.