 Pin
Pin My neighbor texted me a photo of her daughter's graduation cap at midnight, and I found myself wide awake thinking about how to make something special that felt both celebratory and manageable. These cheesecake bites came to life at that odd hour—the idea of tiny, creamy pockets of indulgence that could be dressed up with those little diploma picks felt exactly right for marking a beginning. There's something about serving food on a stick at a party that instantly makes people smile, especially when what's on the end is ridiculously good cheesecake. I've made them three times since, and every batch disappears faster than I can arrange them on the platter.
I made these for my friend's book club graduation ceremony—a silly inside joke about everyone finally finishing their summer reading list. Watching people carefully peel away the liner, pop the whole thing in their mouth, and then laugh at the diploma pick was pure joy. One person asked if she could take a photo before eating hers, which meant I'd nailed the balance between impressive and fun.
What's for Dinner Tonight? 🤔
Stop stressing. Get 10 fast recipes that actually work on busy nights.
Free. No spam. Just easy meals.
Ingredients
- Graham cracker crumbs: The foundation that gives you that nostalgic, slightly sweet crunch—I've learned that finely crushing them (not pulverizing into powder) keeps the texture interesting.
- Granulated sugar for crust: Just enough to enhance the buttery flavor without making it taste like dessert before you get to the cheesecake itself.
- Unsalted butter, melted: Warm butter binds everything together and makes the crust press down smoothly without crumbling everywhere.
- Cream cheese, softened: This is non-negotiable—if it's cold, you'll end up with lumps no matter how hard you beat it, and the filling won't be silky.
- Sugar for filling: The sweetness balances the tang of the cream cheese and sour cream beautifully.
- Large egg: One egg sets the structure without making the bite too dense or custardy; it's the magic ratio for this size.
- Vanilla extract: A teaspoon adds warmth and depth that makes people wonder what that little something is.
- Sour cream: This keeps the filling tender and adds a subtle tang that stops the cheesecake from tasting one-note sweet.
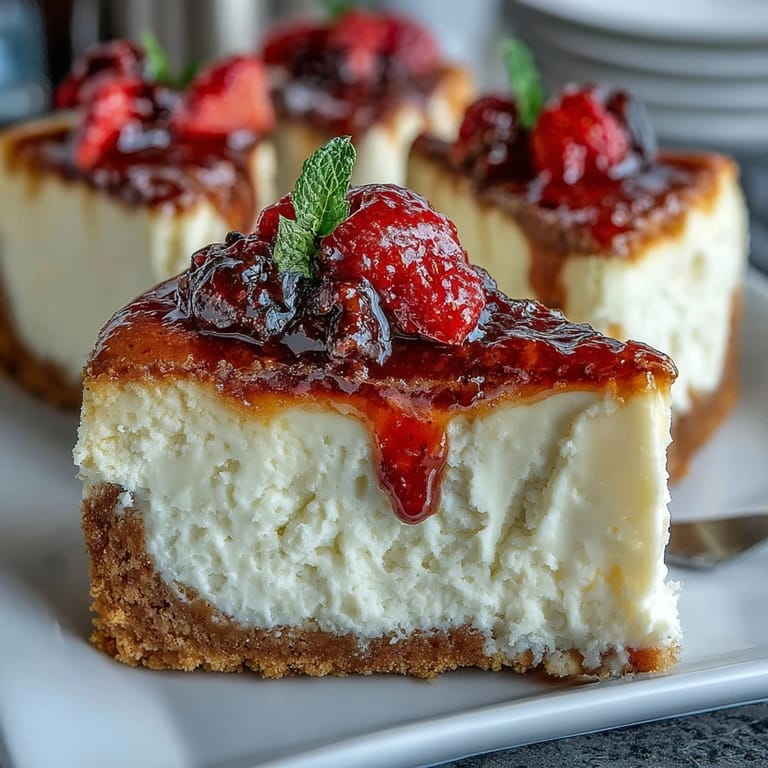
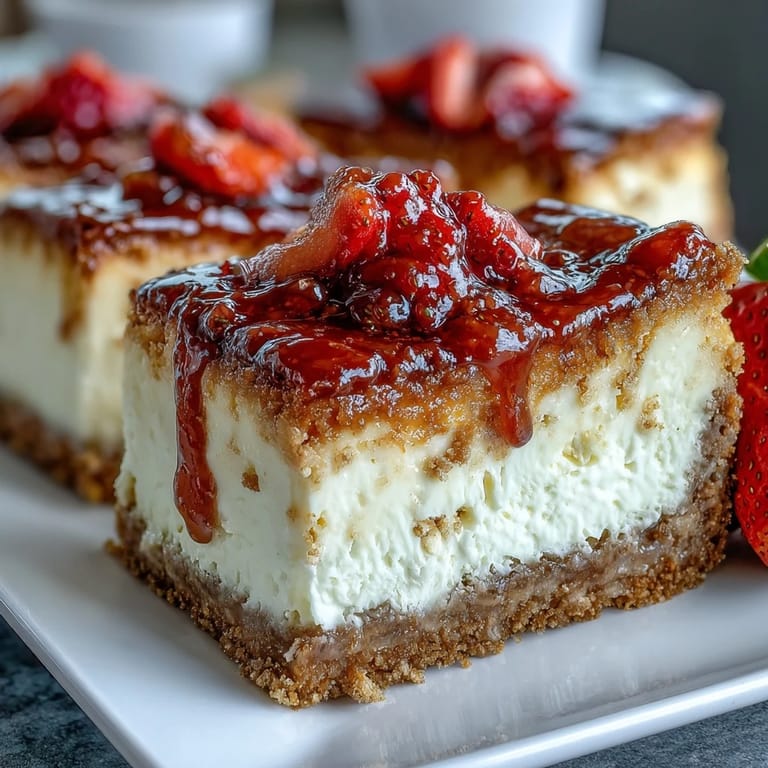
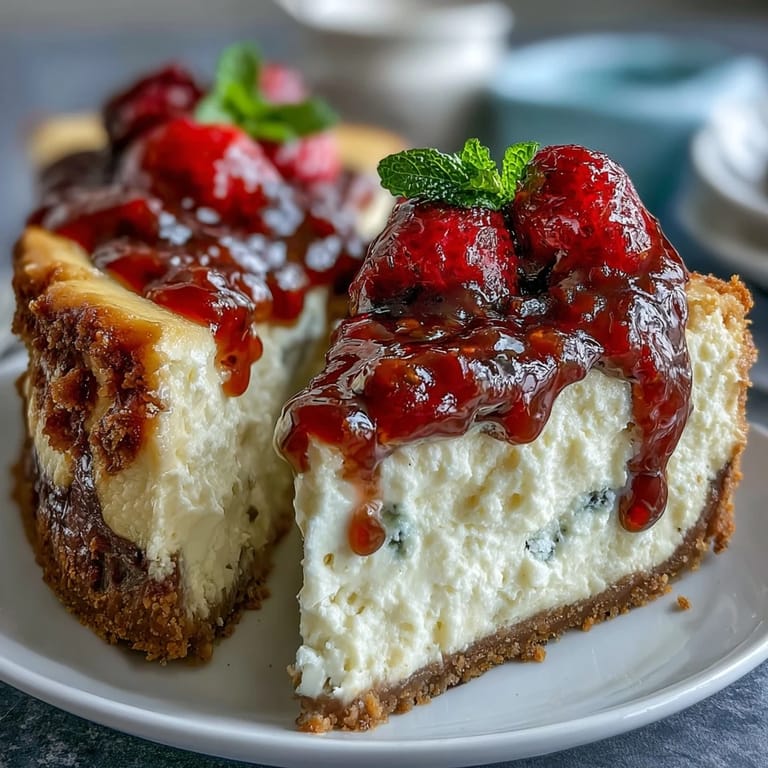
- Fresh mixed berries: The bright pop on top cuts through the richness and looks like you cared about presentation.
- Fruit preserves: Optional but worth the two-minute brush—it gives the berries a jeweled shine that makes them look professional.
- Diploma picks: These turn a dessert into a memory and take thirty seconds to insert.
Instructions
- Prep your station:
- Preheat your oven to 325°F and line a mini muffin pan with 24 liners—doing this first means you're not scrambling when the filling is ready. Having everything lined up before you start mixing is the difference between a calm kitchen and one where you're rushing.
- Build the crust:
- Combine graham cracker crumbs, sugar, and melted butter in a bowl, stirring until it looks like wet sand. Spoon a teaspoon into each liner and press down gently but firmly with the bottom of a measuring spoon—you want it compact enough to hold together but not so hard it becomes unpleasant to bite through.
- Toast the crust:
- Bake for 5 minutes until it smells toasted and looks set, then pull it out to cool slightly. This short bake is crucial because it sets the structure so the filling doesn't sink down and create a soggy bottom.
- Make the filling:
- Beat softened cream cheese and sugar together until completely smooth and fluffy, which takes about 2 minutes of consistent beating. Add the egg, vanilla, and sour cream, mixing gently until just combined—overbeating at this point introduces air bubbles that can cause cracks on top.
- Fill the cups:
- Spoon about a tablespoon of filling over each cooled crust, smoothing the tops gently with the back of the spoon. Try to keep the filling roughly level so they bake evenly.
- Bake until set:
- Bake for 13 to 15 minutes—you're looking for the centers to set but still have the tiniest jiggle when you gently shake the pan. Overbaking makes them crack and taste slightly dry, so set a timer and peek at the 13-minute mark.
- Cool gradually:
- Let them cool in the pan for 15 minutes before transferring to a wire rack, then refrigerate for at least an hour. The gradual cooling prevents the temperature shock that causes those fine cracks on top.
- Top and celebrate:
- Add a few berries to each bite, brush with warm preserves if you're feeling fancy, then insert the diploma picks just before serving. The picks are best inserted right before people eat them so they stay in place.
 Pin
Pin 
The moment that sold me on these forever was watching a shy kid at the party grab one, see the diploma pick, and immediately ask if they could be a baker because something this good shouldn't be that easy. Food has a way of opening conversations you didn't expect, and these little bites seemed to do that at every celebration since.
Flavor Variations That Work
I've experimented with swapping the berry topping for other things, and some combinations have become favorites. A sprinkle of lemon zest mixed into the filling brightens everything, while a drizzle of melted chocolate over the top satisfies people who find plain cheesecake a touch too mild. Even a tiny pinch of cinnamon sugar pressed into the crust before baking adds a subtle warmth that makes people ask what you did differently.
Storage and Make-Ahead Strategy
These live happily in the fridge for up to three days in an airtight container, which means you can make them the day before a party and spend the celebration actually talking to people instead of being stuck in the kitchen. I learned to add the berries and picks no more than two hours before serving so the picks don't get wobbly and the berries stay fresh-looking. You can even freeze unfrosted bites for up to two weeks if you want to get ahead—just thaw them gently in the fridge before topping.
Making Them Gluten-Free and Allergy-Friendly
Since these have dairy and egg, they're not allergy-free, but the gluten-free swap is seamless—just use gluten-free graham crackers and everything else stays exactly the same. I've also successfully made them with dairy-free cream cheese for friends with restrictions, though the texture is slightly less dense (still delicious, just different). Always double-check ingredient labels for hidden allergens, especially in the graham crackers and preserves where gluten and cross-contamination can hide.
- Gluten-free graham crackers swap in without changing any other ingredient amounts.
- Let people know about the egg and dairy so you're not surprising anyone with allergies.
- Fresh berries are naturally allergen-friendly, so they're a safe garnish for mixed diets.
 Pin
Pin These little bites have become my go-to for any milestone where you want to feel thoughtful without spending all day in the kitchen. They're small enough to feel like a treat but special enough to make people remember the moment.
Recipe Questions & Answers
- → How do I prevent cracks in the cheesecake bites?
Ensure the filling is well mixed but not overbeaten. Baking at a moderate temperature and avoiding overbaking helps maintain smooth, crack-free tops.
- → Can I make these bites ahead of time?
Yes, the cheesecake bites can be prepared and chilled up to 3 days in advance, kept refrigerated in an airtight container.
- → What are suitable substitutes for graham cracker crumbs?
Gluten-free cracker crumbs or finely crushed digestive biscuits work nicely as alternatives for the crust.
- → How long should the bites chill before serving?
Chill the cheesecake bites in the refrigerator for at least 1 hour to ensure they set properly and develop a creamy texture.
- → What fruits work best as toppings?
Fresh mixed berries such as blueberries, raspberries, or diced strawberries make perfect colorful and flavorful toppings.