 Pin
Pin The first time I attempted this cake, I accidentally dumped the entire bottle of red gel coloring into the batter. My kitchen looked like a crime scene, but that cake turned out the most gorgeous ruby red I've ever achieved. Now I make it every February for my sister, who turns into a giddy six-year-old whenever she sees Betty Boop's silhouette on anything.
Last year I made three of these cakes for a Galentine's party, and by the time I finished piping the third Betty Boop silhouette, my kitchen counter looked like a chocolate production line. My friends fought over who got to take home the cake with the neatest silhouette, which is apparently a thing people care about when they're slightly tipsy on rosé.
What's for Dinner Tonight? 🤔
Stop stressing. Get 10 fast recipes that actually work on busy nights.
Free. No spam. Just easy meals.
Ingredients
- Cake flour: The lower protein content keeps this cake tender, unlike all-purpose which can make red velvet turn tough and rubbery
- Unsweetened cocoa powder: Just enough to give depth without overpowering that classic red velvet flavor
- Red gel food coloring: Liquid coloring will thin your batter and dull the color, while gel delivers that shock of red you want
- Buttermilk: The acidity activates the baking soda and creates that velvety texture we're chasing
- Room temperature butter and eggs: Cold ingredients will curdle your batter and prevent proper aeration, so set everything out an hour before baking
- Dark chocolate for silhouettes: Candy melts work well, but good quality dark chocolate tastes significantly better against the sweet frosting
Instructions
- Prep your pans and preheat:
- Heat your oven to 350°F and grease two heart-shaped pans with butter, then line the bottoms with parchment circles cut to fit. Trust me, trying to wrangle stuck red velvet cake out of a heart pan will ruin your entire evening.
- Whisk the dry ingredients:
- Sift together the cake flour, cocoa powder, baking powder, baking soda, and salt in a medium bowl. Sifting eliminates lumps that would otherwise create white streaks in your red crumb.
- Cream butter and sugar:
- Beat the butter for a full minute until it's genuinely creamy, then gradually add sugar and let it go for another 2 to 3 minutes until the mixture turns pale and fluffy. This step creates the structure that prevents a dense cake.
- Add eggs one at a time:
- Beat each egg into the batter completely before adding the next, scraping down the bowl sides after each addition. Rushing this step is how you end up with curdled batter that never quite recovers.
- Add color and liquids:
- Mix in the red gel coloring, vanilla, and vinegar until the batter is uniformly red, like crushed rubies. The vinegar might smell strong, but it's essential for both color activation and tenderness.
- Alternate wet and dry ingredients:
- With the mixer on low, add one-third of the flour mixture, then half the buttermilk, repeating until everything is incorporated. Stop mixing the second you no longer see dry flour, even if tiny lumps remain.
- Activate with vinegar and soda:
- Stir the baking soda into that final teaspoon of vinegar, let it foam for a second, then gently fold it into the batter. This creates the classic red velvet velvetiness.
- Bake until set:
- Divide the batter between your prepared pans, smooth the tops, and bake for 25 to 30 minutes until a toothpick comes out clean. The tops should spring back when touched, not feel jiggly or unset.
- Cool completely:
- Let the cakes rest in their pans for 10 minutes, then run a thin knife around the edges and invert onto wire racks. Frosting warm cake is a rookie mistake that leads to sliding layers and melted frosting disasters.
- Make the frosting:
- Beat cream cheese and butter together until completely smooth, about 2 minutes, then gradually add powdered sugar followed by vanilla and salt. The frosting should be thick enough to hold peaks but still spreadable.
- Assemble and crumb coat:
- Level any domes with a serrated knife, then spread a thin layer of frosting between the layers and over the entire cake. Chill for 15 minutes to lock in those loose crumbs before adding your final coat.
- Final frost and smooth:
- Apply the remaining frosting and smooth it with an offset spatula dipped in hot water and wiped dry. The heat helps the frosting move seamlessly without dragging.
- Create the silhouette:
- Place your Betty Boop stencil under parchment paper, then trace the outline with melted dark chocolate using a piping bag or small brush. Let it set completely at room temperature or in the fridge for 10 minutes.
- Place the decoration:
- Carefully peel the chocolate silhouette from the parchment and center it on your cake. Press very gently so it adheres without cracking the chocolate.
- Finish and chill:
- Add any final decorations like frosting rosettes or red pearls, then chill the entire cake for 30 minutes before serving. A chilled cake slices cleaner and the silhouette won't slide during transport.
 Pin
Pin 
My niece now requests this cake for her birthday instead of the store-bought princess cakes she used to want, and I pretend it doesn't make me ridiculously proud that she prefers something handmade. The year I messed up the silhouette and had to freehand draw Betty Boop with chocolate remains our family's favorite kitchen disaster story, mostly because I somehow managed to make her look like she had two different hairstyles on either side of her face.
Making Chocolate Silhouettes That Actually Work
After five failed attempts where my chocolate Betty Boop looked like she'd gone through a car wash, I finally figured out that the chocolate needs to be exactly 90°F when you pipe it—too cool and it won't flow smoothly, too warm and it spreads into a blob. I now use a laser thermometer like a weird kitchen scientist, and my success rate has improved dramatically.
Getting That Perfect Red Without Using Half a Bottle of Coloring
Natural cocoa powder has a reddish tint that amplifies red food coloring, while Dutch-processed cocoa will fight against it and leave you with a weird muddy brown-red color. I also add a tiny pinch of baking soda to the cocoa powder before whisking it into the flour mixture, which helps neutralize acidity and lets the true red color shine through without needing excessive amounts of gel.
Frosting Like You Actually Know What You're Doing
The hot water spatula trick changed my entire relationship with frosting cakes, and I can't believe I spent years fighting with cold frosting that dragged and tore the cake surface. Heat your offset spatula under hot water, dry it thoroughly, then make long confident strokes around the cake—the residual heat melts the frosting just enough to create those glass-smooth bakery finishes that look impossible but are actually just physics.
- Keep a small bowl of hot water nearby to reheat your spatula as needed
- If you get a crumb in your frosting, scrape it off immediately and start that section fresh
- The final chill before serving is non-negotiable for clean slices that actually show off your layers
 Pin
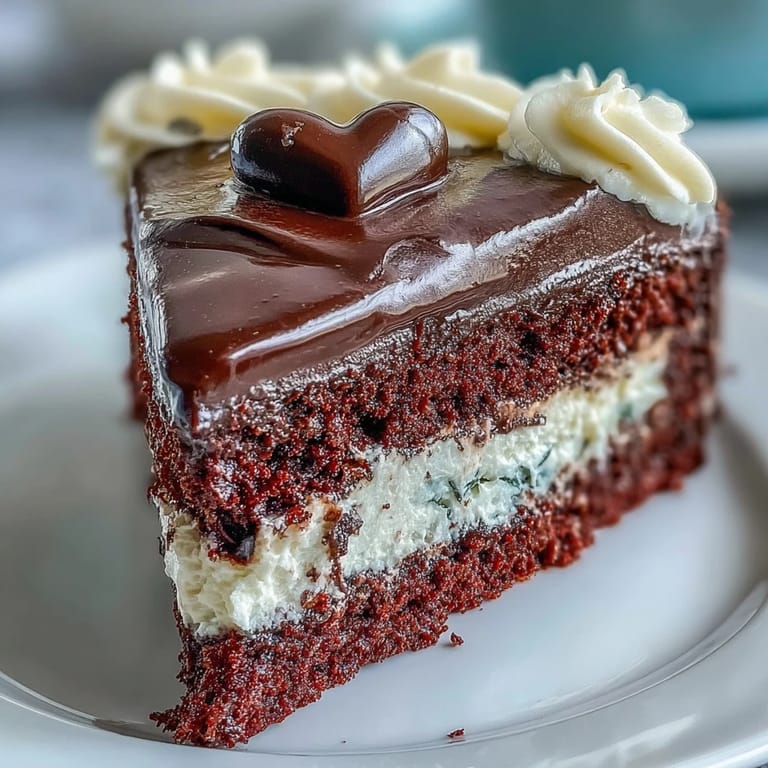
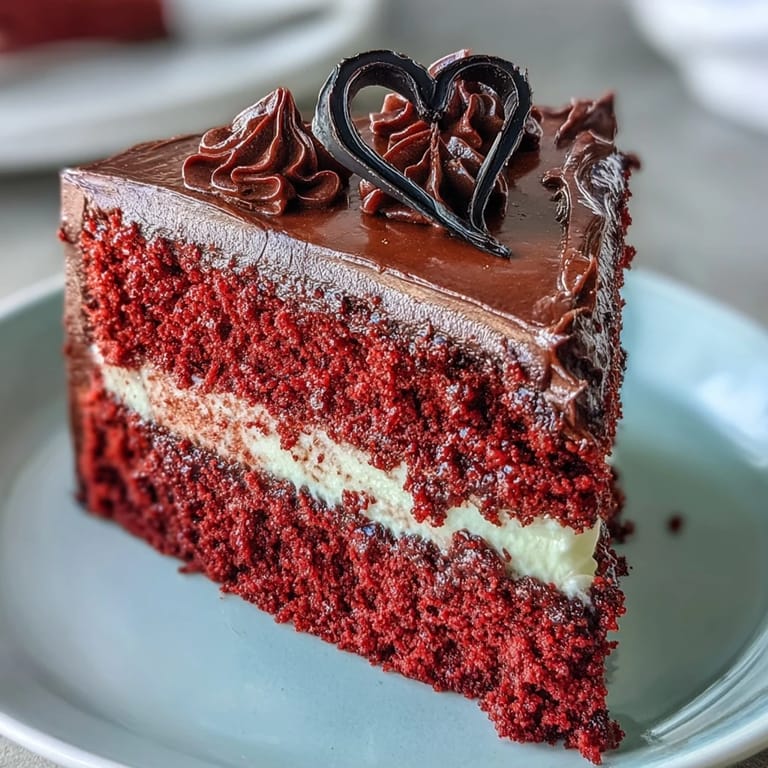
Pin There's something unexpectedly satisfying about cutting into that dark chocolate silhouette and revealing the red velvet beneath, like revealing a secret you've been carrying around all day. Hope this cake brings someone as much joy in eating it as you'll feel serving it.
Recipe Questions & Answers
- → What gives this cake its vibrant red color?
The deep red hue comes from red gel food coloring, which is incorporated directly into the cake batter. Using gel-based coloring ensures a vivid shade without affecting the batter's consistency, creating a visually stunning presentation.
- → How can I achieve a perfectly smooth cream cheese frosting finish?
For the smoothest frosting, ensure your cream cheese and butter are at room temperature. After applying, you can gently heat an offset spatula under hot water, wipe it dry, and then use it to smooth out any imperfections on the surface of the cake.
- → Are there any tips for working with the chocolate silhouette?
To create a sharp chocolate silhouette, place your stencil under parchment paper and pipe the melted dark chocolate precisely over the design. Allow it to fully set, either at room temperature or briefly in the refrigerator, before carefully peeling it from the parchment and applying it to the cake.
- → Why is it important to use room temperature ingredients for this cake?
Using room temperature ingredients, particularly butter, eggs, and buttermilk, is crucial for achieving a smooth, emulsified batter. This helps the ingredients combine uniformly, leading to a more consistent cake texture, better rise, and an overall tender crumb.
- → Can I store leftover portions and for how long?
Yes, any leftover cake should be stored covered in the refrigerator. It will maintain its freshness and flavor for up to 4 days. Allowing it to come to room temperature for a short period before serving can enhance its taste and texture.