 Pin
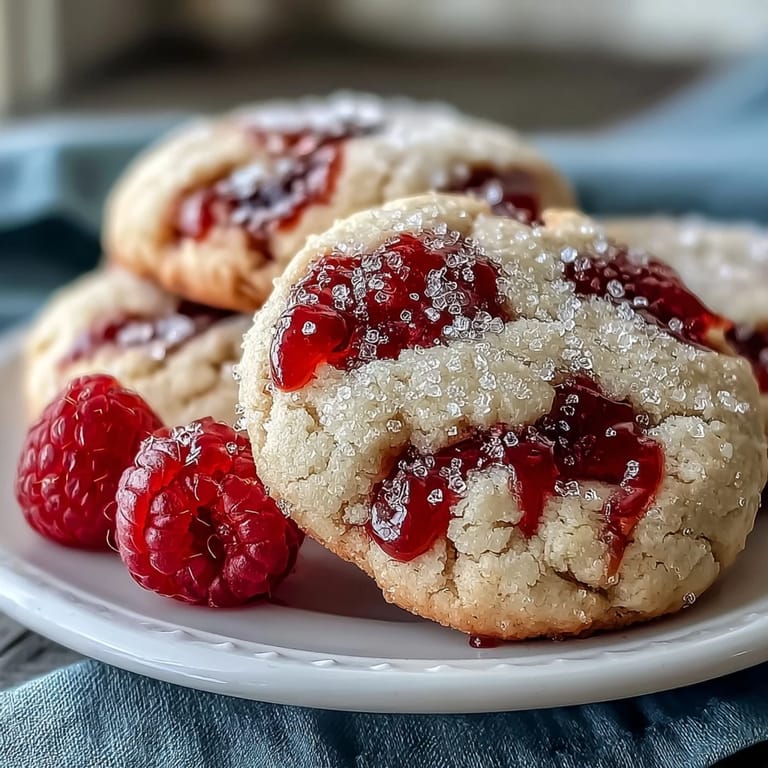
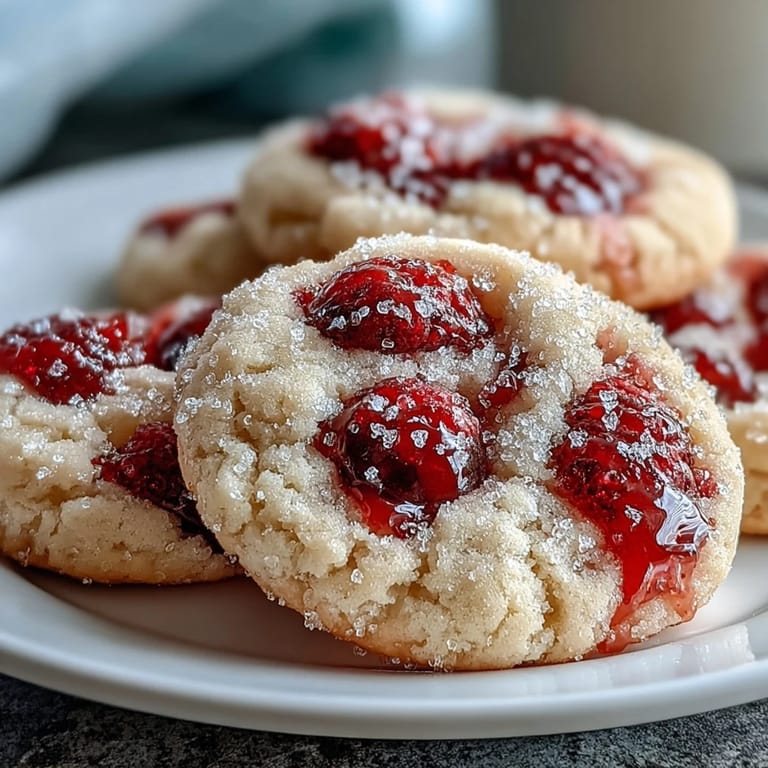
Pin The kitchen smelled like summer when I first attempted these raspberry sugar cookies. I had picked up a pint of fresh raspberries at the farmers market, intending to make something special but simple enough for a Tuesday afternoon. The way the berries stained my fingers pink while I folded them into the dough made me feel like a kid again, messy and happy. Those first cookies came out slightly too crisp, but my roommate ate three warm from the oven and declared them perfect anyway.
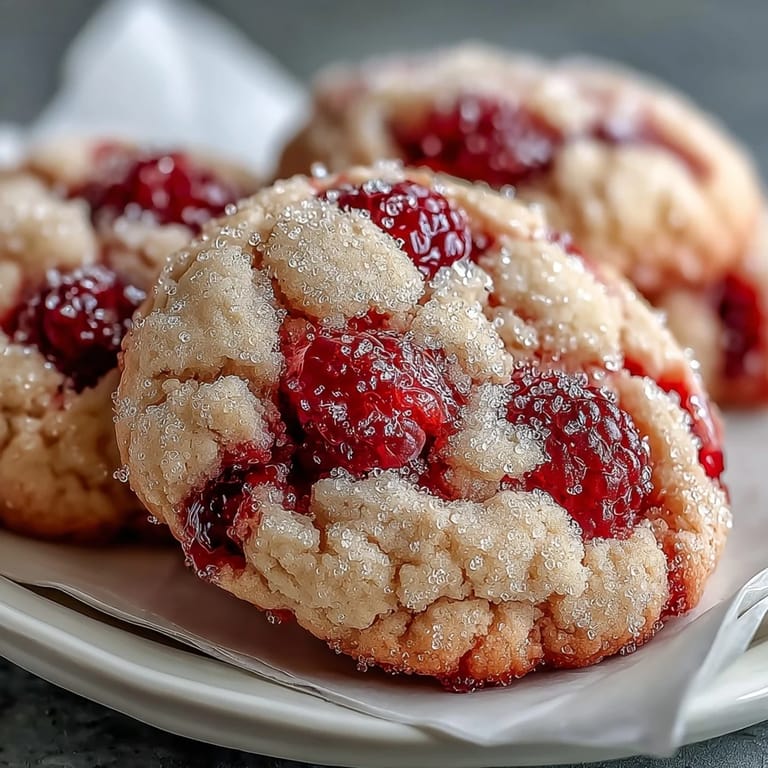
Last summer I made these for my sister's birthday picnic. I was running late and skipped the recommended dough chilling step, which meant the cookies spread more than planned. But everyone loved how thin and chewy they turned out, with these gorgeous raspberry streaks running through them. Sometimes happy accidents teach you that there's no single perfect version of a recipe.
What's for Dinner Tonight? 🤔
Stop stressing. Get 10 fast recipes that actually work on busy nights.
Free. No spam. Just easy meals.
Ingredients
- Unsalted butter: Room temperature butter is non-negotiable here. Cold butter creates a dense cookie, while properly softened butter gives you those pillowy edges we're after
- Both sugars: The combination of granulated and light brown sugar gives you crisp edges and a soft center. I once used only brown sugar and the cookies turned out almost fudge-like, which was delicious but not quite what I was going for
- Cornstarch: This is my secret ingredient for extra softness. Just two tablespoons makes a noticeable difference in texture, keeping the cookies tender for days
- Fresh raspberries: Handle these gently. The first time I made these, I got overenthusiastic folding them in and ended up with pink dough instead of distinct berry pockets
- Freeze-dried raspberries: Totally optional but worth it for that extra hit of raspberry flavor in the coating. I buy mine in bulk and keep them on hand for whenever the mood strikes
Instructions
- Prepare your space:
- Preheat that oven to 350°F and line your baking sheets with parchment. I've tried baking directly on the sheet, but parchment paper makes cleanup so much easier and prevents sticking
- Mix the dry team:
- Whisk together flour, cornstarch, baking powder, baking soda, and salt in a medium bowl. This ensures everything is evenly distributed before it hits the butter
- Work that butter:
- Cream the softened butter with both sugars for 3 to 4 minutes until pale and fluffy. This step creates air pockets that help the cookies rise. I set a timer because I'm tempted to rush it
- Add eggs one at a time:
- Reduce mixer speed to low and add each egg separately. This emulsifies everything properly. I scrape down the bowl between additions because no one wants pockets of unmixed egg
- Bring in the vanilla:
- Mix in vanilla until fully combined. The scent alone will make your kitchen feel like a bakery
- Combine wet and dry:
- Gradually add the flour mixture on low speed, mixing just until combined. Overmixing here makes tough cookies, so I stop as soon as I see the last streak of flour disappear
- Fold in the berries:
- Gently incorporate fresh raspberries by hand. I use a spatula and fold like I'm making a soufflé, trying to keep some berries whole for those juicy bursts
- Make the coating:
- Mix granulated sugar with crushed freeze-dried raspberries in a small bowl. This creates that beautiful speckled coating on the outside
- Roll and coat:
- Scoop dough using a 1.5 tablespoon scoop, roll into smooth balls between your palms, then coat in the sugar mixture. I keep a small bowl of water nearby to dampen my hands if the dough gets sticky
- Space them out:
- Place dough balls 2 inches apart on prepared baking sheets. They spread, so give them room to breathe
- Bake until just set:
- Bake for 10 to 12 minutes until edges are set but centers look slightly underbaked. This is the key to chewy cookies. I pull mine at 11 minutes for perfectly soft centers
- Rest before serving:
- Let cookies cool on the baking sheet for 5 minutes, then transfer to a wire rack. They continue cooking on the hot pan, so this rest period is crucial for the right texture
 Pin
Pin 
These cookies have become my go-to for summer gatherings. There's something magical about watching someone bite into one and seeing their eyes light up when they hit that first pocket of warm raspberry. My neighbor now requests them every time she sees fresh berries at the market, and I'm happy to oblige.
Raspberry Swirl Variation
Sometimes I swirl a teaspoon of raspberry jam into each dough ball before rolling them in sugar. This creates marbled streaks throughout the cookie and intensifies the fruit flavor. It's an extra step but feels fancy without being difficult.
Making Them Year Round
When fresh raspberries are out of season or too expensive, I substitute ¾ cup crushed freeze-dried raspberries mixed directly into the dough. The texture is slightly different—more uniformly speckled than bursty—but the flavor remains bright and concentrated.
Storage and Sharing
These cookies stay remarkably soft in an airtight container at room temperature for up to 4 days. I've also frozen the unbaked dough balls and baked them straight from frozen, adding just 1 to 2 minutes to the baking time. They make excellent gifts layered in a jar with the sugar coating on the side so recipients can bake them fresh.
- Package them with a piece of bread to keep them extra soft
- The sugar coating can get sticky in humid weather, so store in a cool dry place
- These freeze beautifully for up to 3 months if you want to bake half now and half later
 Pin
Pin There's joy in a simple cookie that surprises you with every bite. I hope these bring a little summer brightness to your kitchen, whatever the season.
Recipe Questions & Answers
- → My cookies spread too much. What can I do?
Cookies spreading can be due to overly soft butter, warm dough, or too much leavening. Ensure your butter is softened but not melted. Chilling the dough for at least 30 minutes before baking is highly recommended to help them maintain their shape and prevent excessive spreading.
- → Can I use frozen raspberries instead of fresh ones?
While fresh raspberries are ideal for their texture and less moisture, you can use frozen. However, do not thaw them completely before folding them into the dough, and pat them very dry. They might release more moisture during baking, so consider adding a little extra flour if the dough seems too wet, or opting for freeze-dried raspberries.
- → What gives these cookies their soft and chewy texture?
The combination of brown sugar, which adds moisture, along with cornstarch, helps achieve that desirable soft and chewy texture. Brown sugar contributes to chewiness, while cornstarch helps tenderize the crumb, creating a pillowy result. Don't overmix the dough, as this can develop gluten and lead to a tougher cookie.
- → How can I get an even stronger raspberry flavor?
To boost the raspberry flavor, use crushed freeze-dried raspberries in the coating mixture – they provide intense fruit flavor without adding moisture. You can also gently swirl about 1 teaspoon of raspberry jam into each dough ball before rolling, or even incorporate a small amount of raspberry extract into the wet ingredients for a more pronounced taste.
- → What's the best way to store these cookies?
Once completely cooled, store the cookies in an airtight container at room temperature. They will stay fresh for up to 4 days. For longer storage, you can freeze them in an airtight container or freezer bag for up to 3 months. Thaw at room temperature before enjoying.
- → Can I prepare the dough in advance?
Yes, you can prepare the cookie dough ahead of time. Chilling the dough for at least 30 minutes is recommended, but you can also refrigerate it for up to 2-3 days. If chilling for an extended period, allow it to come slightly closer to room temperature for easier scooping and rolling.