 Pin
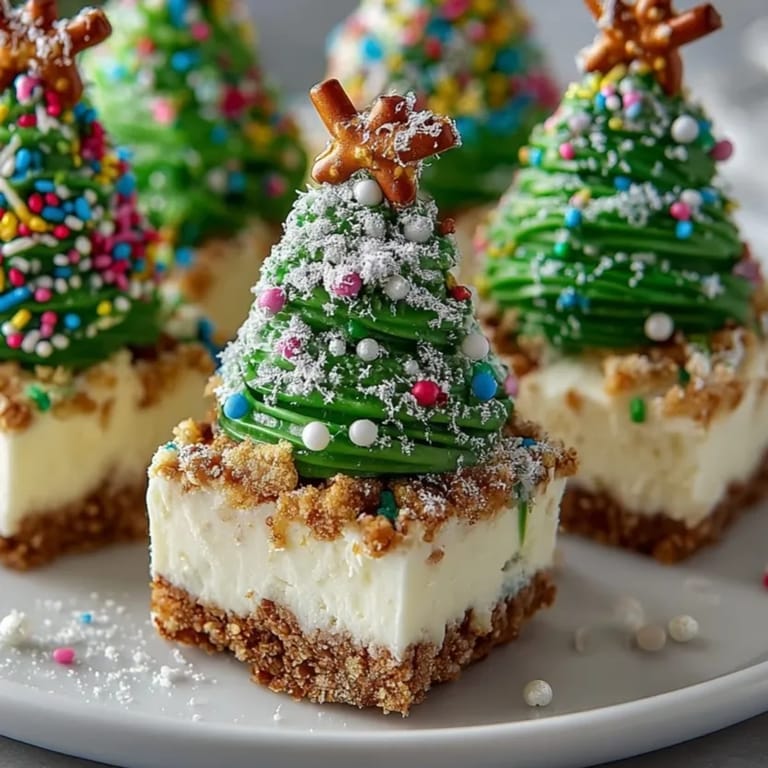
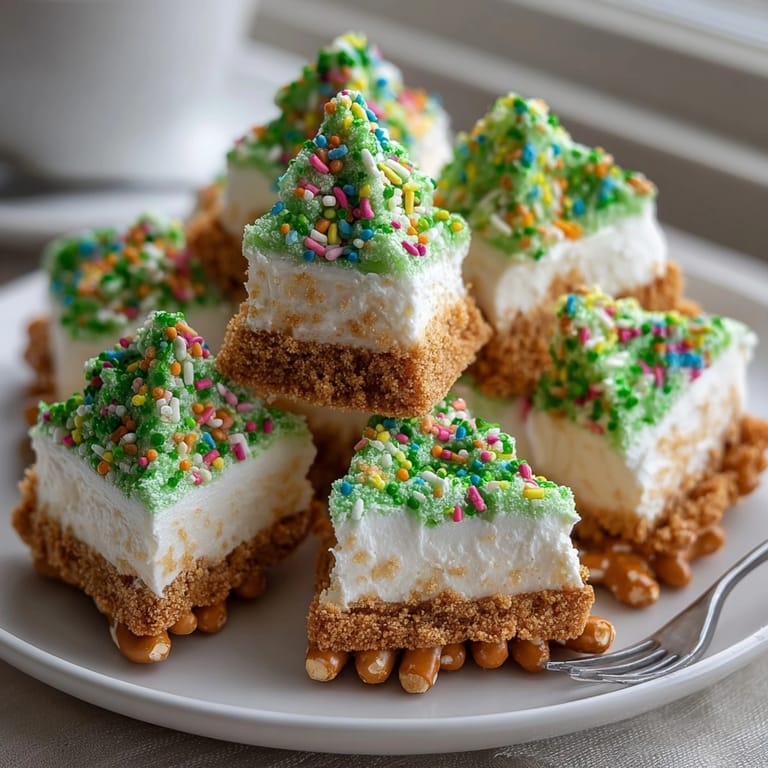
Pin These festive little tree cheesecake bites have become my signature holiday dessert contribution. The no-bake triangles combine the creamy richness of cheesecake with a playful presentation that makes them the star of any cookie platter. Perfect for gatherings where you want something beyond traditional cookies.
I first made these for a neighborhood cookie exchange three years ago, and they disappeared faster than anything else on the table. Now my friends specifically request my "little trees" each December, and I love watching everyone's face light up when they spot them.
What's for Dinner Tonight? 🤔
Stop stressing. Get 10 fast recipes that actually work on busy nights.
Free. No spam. Just easy meals.
Ingredients
- Graham cracker crumbs: create the perfect crunchy foundation that balances the creamy filling. Use honey grahams for a slightly sweeter base.
- Unsalted butter: binds the crust together. Make sure it's fully melted but not hot when mixing.
- Cream cheese: provides that classic tangy richness. Philadelphia brand produces the smoothest results in my experience.
- Powdered sugar: sweetens without adding graininess. Sift it first to avoid lumps in your filling.
- Vanilla extract: adds warmth and depth. Pure extract rather than imitation makes a noticeable difference.
- Whipped cream: lightens the texture for a mousse like consistency. Fresh whipped cream tastes best but stabilized cool whip works in a pinch.
- White chocolate: creates the vibrant green topping. Choose a quality brand that melts smoothly like Ghirardelli.
- Green gel food coloring: produces vibrant color without thinning the chocolate. Americolor or Wilton brands work beautifully.
- Festive sprinkles: add sparkle and texture. Holiday nonpareils or sanding sugar create a snow dusted effect.
- Mini pretzel sticks: form the perfect rustic tree trunks. The salt contrast enhances the overall flavor.
Instructions
- Prepare the Crust:
- Line an 8x8 inch pan with parchment paper leaving overhang for easy removal. Thoroughly combine graham cracker crumbs with melted butter until the mixture resembles wet sand. Press firmly into the bottom of the pan creating an even layer about 1/4 inch thick. Use the bottom of a measuring cup to compact the crust which prevents crumbling when cut. Refrigerate for at least 30 minutes to set.
- Whip the Filling:
- In a large bowl beat softened cream cheese until completely smooth with no lumps about 2 minutes. This step is crucial for silky texture. Gradually add powdered sugar while mixing on low speed to avoid a sugar cloud. Mix in vanilla extract until fully incorporated. Gently fold in the whipped cream using a rubber spatula with a light hand to maintain airiness. The filling should be thick but spreadable.
- Assemble and Chill:
- Spread the cheesecake mixture evenly over the chilled crust creating a smooth level surface. Tap the pan gently against the counter to release any air bubbles. Cover with plastic wrap pressing it directly onto the surface to prevent condensation. Refrigerate for a minimum of 2 hours or ideally overnight until completely firm.
- Shape the Trees:
- Remove the set cheesecake from the pan using the parchment overhang. With a sharp knife dipped in hot water and wiped clean between cuts slice the cheesecake into triangles. First cut into squares then diagonally to create triangles. Clean your knife between each cut for pristine edges.
- Decorate with Flair:
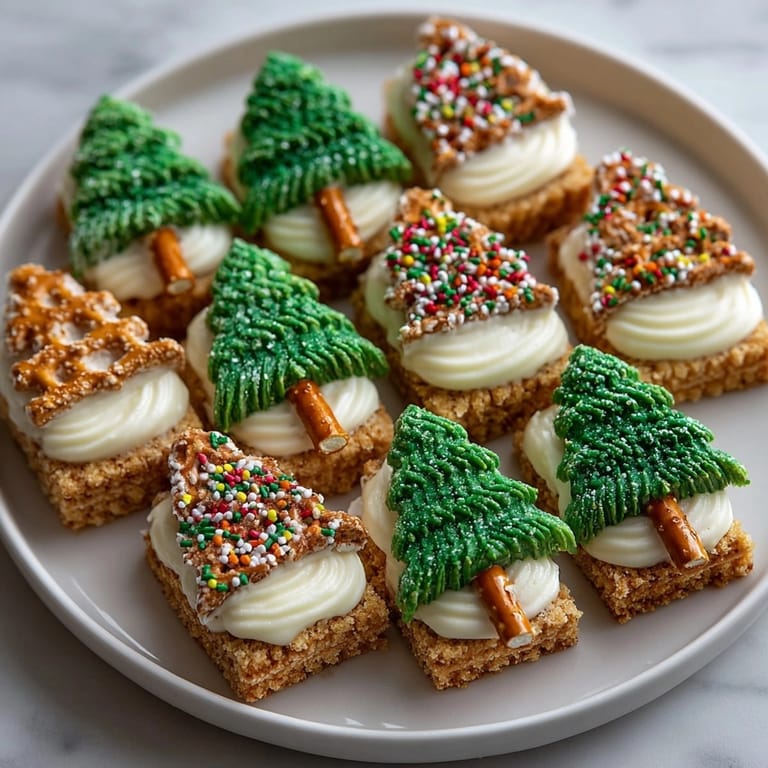
- Melt white chocolate in a microwave safe bowl in 30 second intervals stirring between each until smooth. Add green gel coloring and stir until evenly distributed. Working quickly dip the top point of each triangle into the green chocolate allowing excess to drip off. Immediately add sprinkles before the chocolate sets. Insert a pretzel stick into the bottom of each triangle to create the trunk.
- Set and Serve:
- Place decorated trees on a parchment lined baking sheet and refrigerate for 10 minutes to set the chocolate completely. Arrange on a serving platter or cookie board just before serving for maximum visual impact.
 Pin
Pin 
The white chocolate topping is my favorite part of this recipe. I discovered it accidentally when I ran out of green candy melts one year and had to improvise. The result was actually creamier and more delicious than my original version, proving that kitchen emergencies sometimes lead to the best discoveries!
Storage Tips
These cheesecake bites will keep beautifully in the refrigerator for up to 5 days when stored in an airtight container. Place a piece of parchment paper between layers to prevent the decorations from sticking together. The texture is actually best on day two when the flavors have had time to meld together. If you need to store them longer they can be frozen before decorating. Simply wrap the undecorated triangles tightly and freeze for up to a month. Thaw overnight in the refrigerator before decorating.
Seasonal Adaptations
While these trees are perfect for winter holidays they can easily transform for any season with simple adjustments
Summer version Use blue tinted chocolate and add shredded coconut for beachy waves
Valentine hearts Cut into heart shapes and use pink or red tinted chocolate with heart sprinkles
Halloween ghosts Create rounded tops instead of points and use white chocolate with mini chocolate chip eyes
Serving Suggestions
These cheesecake bites truly shine as part of a larger dessert display. Create a forest scene by placing them among other holiday treats like snowball cookies and gingerbread. For an elevated presentation dust your serving platter with powdered sugar snow before arranging the trees. Consider adding fresh cranberries around the base for a pop of color. These also make charming individual desserts when placed on small plates with a dollop of whipped cream beside them. The contrast between the cold cheesecake and warm holiday beverages like hot chocolate or mulled wine creates a delightful sensory experience.
 Pin
Pin These little trees are a guaranteed hit for any occasion. Enjoy crafting and savoring these delightful cheesecake creations!
Recipe Questions & Answers
- → How do you shape the cheesecake bites into trees?
After chilling, slice the cheesecake into triangle shapes before decorating with chocolate and pretzel sticks to resemble trees.
- → What keeps the bites sturdy for serving?
Chilling them well and optionally adding melted white chocolate to the filling help the bites stay firm and easy to handle.
- → Can I use regular food coloring instead of gel?
Gel coloring is advised for tinting white chocolate as it won't thin the chocolate, ensuring good coverage for decoration.
- → Are these cheesecake bites good for make-ahead platters?
Yes, they must be kept chilled and can be prepared in advance, making them ideal for assembling on cookie boards.
- → What can I use if I don't have graham crackers?
You can substitute with crushed vanilla wafers or digestive biscuits for a similar texture and flavor in the base.
- → How should I serve these for best results?
Keep the bites refrigerated until ready to serve and handle them gently to maintain their cute tree shapes on the platter.